整点好玩的
前言
先上效果
 (如果你看不到上面的动图,你可以在这里下载演示视频)
一直以来,Unity官方并没有提供开箱即用的工具来方便地获取DualShock4中陀螺仪和加速计的数据(听说只有PS4的SDK有提供),要手动获取可能也避免不了和偏底层的代码打交道。直到Unity发布了新的输入工具,the new Input System(以下简称Input System,没有了解过的朋友可以看这里)。
Input System中一个非常强大的功能就是支持自定义输入设备布局,这使得我们可以通过修改DualShock4的默认布局,使得原本不能直接访问的陀螺仪和加速计数据暴露出来。
编写Layout
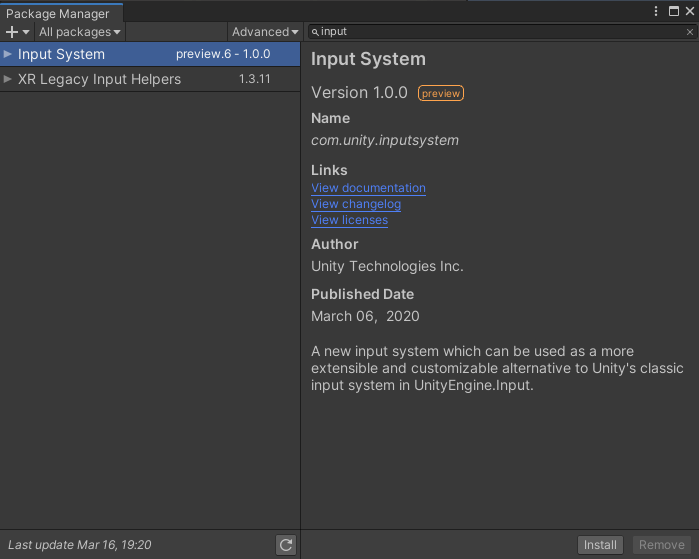
首先新建一个项目,并且通过package manager安装input system。
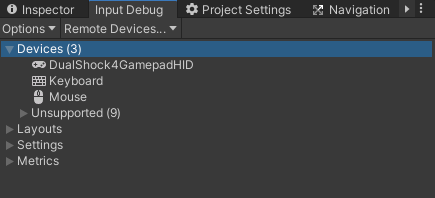
通过Window -> Analysis -> Input Debugger 打开调试窗口,连上DualShock4,就可以看到当前识别到的输入设备了。(如果没有,重启Unity即可)
点开Input Debug -> Layouts -> Specific Devices -> Gamepads -> PS4 Controller -> Controls,可以看到默认的布局已经映射了所有所有的按钮和摇杆。我们只需要以这一份布局为基础,增加新的映射。映射可以通过结构体或者JSON来创建,为了方便起见这里选用JSON。
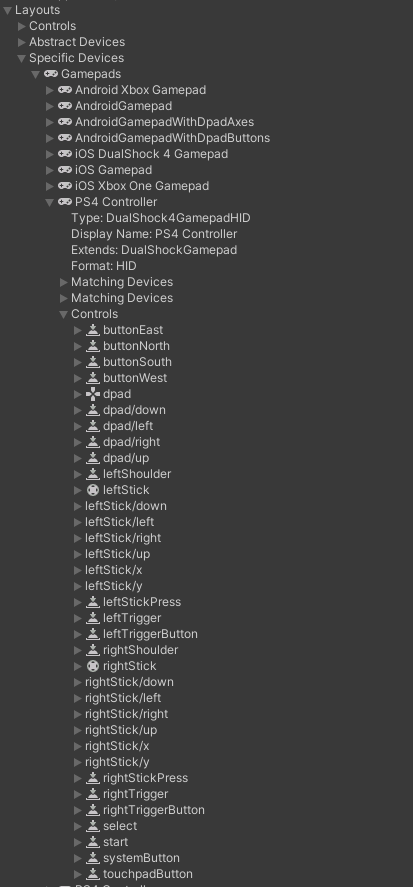
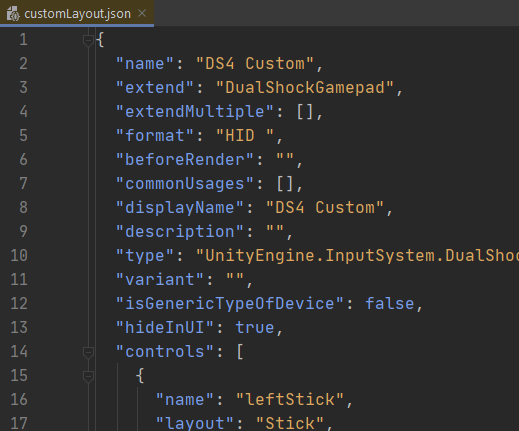
在Input Debug -> Layouts -> Specific Devices -> Gamepads -> PS4 Controller 上点击右键,选择Copy Layout as JSON, 在工程目录下新建一个JSON文件并粘贴。修改JSON的name和display name以便和默认的layout区分。
观察Controls下的每一项,对照 eleccelerator wiki 提供的report structure,我们要映射的布局应该有如下结构。
可能会有的朋友觉得疑惑,为什么陀螺仪的其中一个轴的layout是button,而不是axis之类的。在一般的印象中,button一般只有pressed和released两种状态,对应到数值就是0或者1;对于一个轴,对应的应该是取值在0到1、或-1到1的一维向量。其实只要仔细观察就可以发现,在最基本的layout中并没有axis这一类,就算是可以直接返回一个二维向量的摇杆(layout为Stick),实际上也是由4个button组成。区别在于format这里,真正的按钮应该是BIT,这就决定了按钮只有0和1两个状态。而能返回线性数值的传感器的format是BYTE。
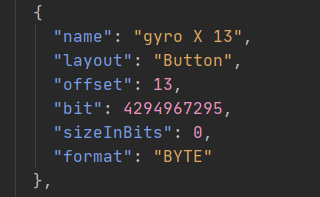
考虑到摇杆和陀螺仪的返回数据应该挺相似的,只是陀螺仪多了一个维度,于是每一个轴都参考了摇杆下的”button”来写,把一些多余的参数删除,并且修改offset。
两个传感器共计六个轴,参考上方提到的report structure,每一个轴都可能有两个byte来存放数据,为了方便debug,一次性将12项添加进JSON,offset从13到24,按照“传感器+轴+offset”的方式命名。
获取数据
接下来编写一个C#脚本来在启动时覆盖默认的DualShock4布局。
//DS4.cs
using System.IO;
using UnityEngine;
using UnityEngine.InputSystem;
using UnityEngine.InputSystem.Controls;

public class DS4
{
    public static Gamepad controller = null;

    public static Gamepad getConroller(string layoutFile = null)
    {
        // Read layout from JSON file
        string layout = File.ReadAllText(layoutFile == null ? "Assets/Script/customLayout.json" : layoutFile);

        // Overwrite the default layout
        InputSystem.RegisterLayoutOverride(layout, "DualShock4GamepadHID");

        var ds4 = Gamepad.current;
        DS4.controller = ds4;
        return ds4;
    }
}
手动调用DS4.getController()会从customLayout.json读取布局并且配置到当前的手柄上。
建立一个Cube物体并写一个MonoBehavior来测试一下效果。
//InputTest.cs
using System.Collections;
using System.Collections.Generic;
using UnityEngine;
using UnityEngine.InputSystem;

public class InputTest : MonoBehaviour
{
    Gamepad controller;
    void Start()
    {
        this.controller = DS4.getConroller();
    }
}
运行程序,在Input Debug中双击DualShock4GamepadHID,在新的窗口中可以看到新的布局已成功映射并且正在接受数据输入。

demo
到上一步为止,已经可以成功获取两个传感器的数值了,接下来将展示一个简单的demo,以演示如何将数据应用在程序中,以陀螺仪数据(offset13至offset18)为例。
由于陀螺仪各个轴的数据都对应了两个offset,在DualShock4静止不动时,offset 14、16、18可以获得较为稳定的数据,其他三个offset则就有持续抖动(这部分应该是没有进行滤波的原始数值),因此选择14、16、18作为最终的输入。通过对数据观察,总结出每个轴的数据具有以下特征:
- 数值在0到1之间
- 0或1表示静止,0~0.5是负方向,0.5~1是正方向
- 0~0.5内,数值越大旋转速度越快。0.5~1内,数值越大旋转速度越慢。也就是越靠近0.5旋转速度越快
修改DS4.cs为以下代码。需要注意DS4的数据使用的是和Unity相反的坐标系,所以Z轴的数据需要乘-1。 调用getRotation(),即可获得当前DualShock4的旋转速度,以四元数的形式返回。
//DS4.cs
using System.IO;
using UnityEngine;
using UnityEngine.InputSystem;
using UnityEngine.InputSystem.Controls;

public class DS4
{
    // Gyroscope
    public static ButtonControl gyroX = null;
    public static ButtonControl gyroY = null;
    public static ButtonControl gyroZ = null;

    public static Gamepad controller = null;

    public static Gamepad getConroller(string layoutFile = null)
    {
        // Read layout from JSON file
        string layout = File.ReadAllText(layoutFile == null ? "Assets/Script/customLayout.json" : layoutFile);

        // Overwrite the default layout
        InputSystem.RegisterLayoutOverride(layout, "DualShock4GamepadHID");

        var ds4 = Gamepad.current;
        DS4.controller = ds4;
        bindControls(DS4.controller);
        return DS4.controller;
    }

    private static void bindControls(Gamepad ds4)
    {
        gyroX = ds4.GetChildControl<ButtonControl>("gyro X 14");
        gyroY = ds4.GetChildControl<ButtonControl>("gyro Y 16");
        gyroZ = ds4.GetChildControl<ButtonControl>("gyro Z 18");
    }

    public static Quaternion getRotation(float scale = 1)
    {
        float x = processRawData(gyroX.ReadValue()) * scale;
        float y = processRawData(gyroY.ReadValue()) * scale;
        float z = -processRawData(gyroZ.ReadValue()) * scale;
        return Quaternion.Euler(x, y, z);
    }

    private static float processRawData(float data)
    {
        return data > 0.5 ? 1 - data : -data;
    }
}
修改InputTest.cs,以控制Cube跟随手柄转动。
//InputTest.cs
using System;
using UnityEngine;
using UnityEngine.InputSystem;

public class InputTest : MonoBehaviour
{
    private Gamepad controller = null;
    private Transform m_transform;

    void Start()
    {
        this.controller = DS4.getConroller();
        m_transform = this.transform;
    }

    void Update()
    {
        if (controller == null)
        {
            try
            {
                controller = DS4.getConroller();
            }
            catch (Exception e)
            {
                Console.WriteLine(e);
            }
        }
        else
        {
            // Press circle button to reset rotation
            if (controller.buttonEast.isPressed)
            {
                m_transform.rotation = Quaternion.identity;
            }
            m_transform.rotation *= DS4.getRotation(4000 * Time.deltaTime);
        }
    }
}
运行程序,即可获得类似文章开头展示的效果。
工程文件的源代码已上传至GitHub
项目地址

参考链接
- http://eleccelerator.com/wiki/index.php?title=DualShock_4#Report_Structure
- https://docs.unity3d.com/Packages/com.unity.inputsystem@1.0/manual/